IRON NEST: Heavy Turret Simulator challenges players with precision and strategy, especially when aiming for Gold Medals. The game often hides exact medal criteria behind vague categories, making it tricky to know what height of performance is expected, particularly with metrics like Average Accuracy, Triple Kill Time Window, and Kills Without Recon.
Compiling known data from medal requirements and player experiences reveals the exact Bronze, Silver, and Gold thresholds. Certain missions even require balancing conflicting objectives, motivating a careful approach to meet all medal conditions simultaneously.
How Gold Medals Work in IRON NEST?
Every mission feature multiple medals, each with its own Bronze, Silver, and Gold thresholds demanding various measures of performance.
Some medals are straightforward, like the Allies Killed medal rewarding you for keeping your units alive. Others require striking quick and precise shots, optimizing resource spending, or firing your first shot without delay.
The primary medal types you’ll face include:
Allies Killed tracks how many friendly units perish in the mission, regardless of cause. Achieving Gold means ensuring no allied deaths.
Enemies Killed reflects the number of enemy casualties eliminated. For a Gold medal, nearly all enemies need to be dispatched.
Consecutive Kill Shots records your kill streak, which resets to zero if you miss or fire a non-lethal shell. This demands careful shot planning and precision.
Kills-per-Shot Ratio measures efficiency, averaging kills over your shots. Some missions require a minimum enemy kill count before this metric applies.
Requisition Spent generally rewards spending less requisition to attain better medals, except in specific missions like Uncontested Front where spending more is beneficial.
Fast and efficient firing is crucial for some Gold Medals, especially when automatic elevation computer assistance is unavailable. Knowing how to manually calculate firing angles ensures you maintain accuracy and speed.
Recons Requisitioned / Kills Without Recon requires eliminating enemies without purchasing aerial reconnaissance, as spending on scout planes negates this medal.
Seconds Until First Shot tracks how quickly you open fire after the mission starts, urging you to load and fire as swiftly as possible.
Counter-Battery Time Left depends on the timer above the Iron Nest’s paper rolls; more remaining time indicates better performance.
Kills With a Single Shell measures how many enemies fall to one shot, specifically relevant in skirmishes like Uncontested Front.
Triple Kill Time Window gauges how quickly you can land three kills. Although the exact calculation is unclear, known time thresholds help players target this medal.
IRON NEST Gold Medal Requirements For All Missions
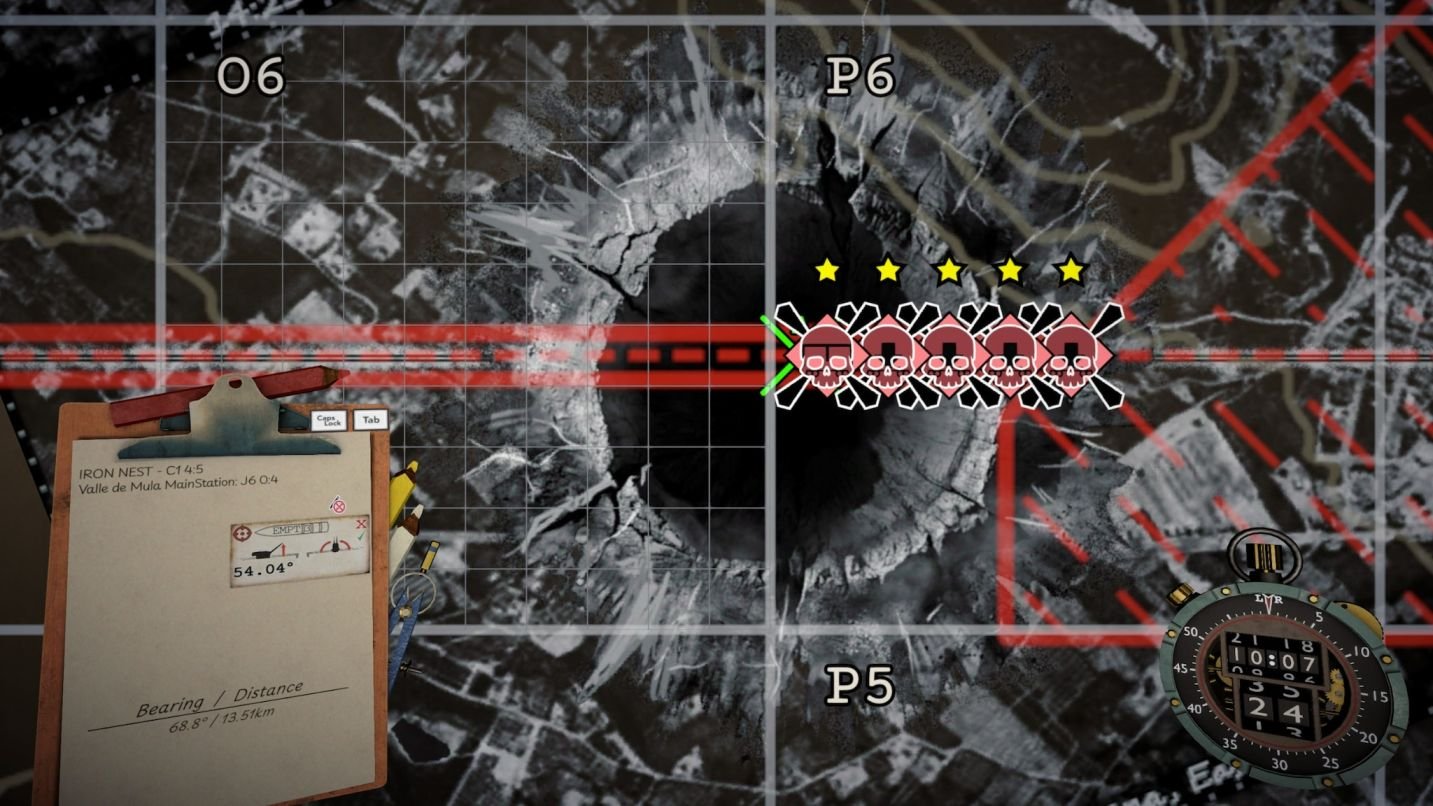
Calibration Fire
The mission Calibration Fire includes just one medal focused on minimizing shots fired.
| Medal ID | Requirement | Bronze | Silver | Gold |
|---|---|---|---|---|
| shots_fired_1to3 | Shots fired, equal to or less than | 3 | 2 | 1 |
You must complete the mission with only one shot or fewer fired to earn Gold, an impressive test of accuracy and efficiency.
While the game detects zero shots, finishing without firing seems practically impossible, setting a high bar for players aiming for perfect performance.
Fire and Light
Similar to Calibration Fire, Fire and Light features a single medal based on shot count.
| Medal ID | Requirement | Bronze | Silver | Gold |
|---|---|---|---|---|
| shots_fired_4to8 | Shots fired, equal to or less than | 8 | 6 | 4 |
To claim Gold, limit your total shots fired to 4 or fewer.
Liberation
The Liberation mission offers four distinct medals, each challenging different aspects of play.
| Medal ID | Requirement | Bronze | Silver | Gold |
|---|---|---|---|---|
| ally_kills_0to2 | Allies killed, equal to or less than | 2 | 1 | 0 |
| avg_accuracy_50to250 | Average accuracy, equal to or less than | 3 | 1 | 0.3 |
| kill_streak_3to6 | Consecutive kill shots, equal to or greater than | 3 | 5 | 6 |
| req_spent_30to100 | Requisition spent, equal to or less than | 100 | 65 | 30 |
The 30 requisition Gold threshold is often prohibitive early on due to expensive shells. Planning when to revisit Liberation after unlocking cheaper shells like the DRIL shell, which costs only 3 requisition, is crucial.
An effective tactic is to fire a STAR shell to P4 for reconnaissance, then triangulate target locations and use low-cost DRIL shells for precise strikes. Avoid firing additional STAR shells between kills to preserve your kill streak medal.
Requisitioning aerial recon over P4 costs 60 requisition and breaks the Gold requisition requirement. Instead, combine a limited number of STAR shells and Forward Observers to locate foes without buying a recon plane.
Players report that unlocking the Liberation Gold medal achievement might require earning all four Gold medals in a single run, though this remains unofficially confirmed.
There are also reports that the Liberation gold-medal achievement may require all four Gold medals in one attempt. This is not clearly confirmed, but players have managed to get all four during the same run.
Counter-Battery
Counter-Battery demands excellence in four areas, from timing to resource management and combat efficiency.
| Medal ID | Requirement | Bronze | Silver | Gold |
|---|---|---|---|---|
| three_kill_window_30to90 | Triple kill time window | 90 or less | 45 or more | 10 or more |
| counter_battery_100to260 | Counter-battery time left, equal to or higher | 100 | 200 | 260 |
| req_spent_30to100 | Requisition spent, equal to or less than | 100 | 65 | 30 |
| enemy_kills_6to10 | Enemies killed, equal to or more | 6 | 8 | 9 |
The mission’s Triple Kill Time Window data appears contradictory, showing 90 seconds or less for Bronze, but increasing times for Silver and Gold. This likely represents a data error. The real goal for Gold is a swift triple kill within about 10 seconds.
The Gold requirement for enemy kills is 9, not 10 as might be implied by the medal ID.
For best results, keep the counter-battery timer high by firing promptly as the mission starts—waiting reduces your medal potential.
Iron Road
Iron Road tests various skills across four medal categories.
| Medal ID | Requirement | Bronze | Silver | Gold |
|---|---|---|---|---|
| ally_kills_0to2 | Allies killed, equal to or less than | 2 | 1 | 0 |
| kill_streak_5to20 | Consecutive kill shots, equal to or greater than | 5 | 10 | 20 |
| kill_shot_ratio_0.8to2_10kills | Kills per shot, with at least 10 enemy kills | 0.8 | 1.5 | 2 |
| no_recon_with_kills | Kills without recon | — | — | — |
The hardest medal here is the 20 consecutive kill streak, which demands lethal precision without a single miss or non-lethal discharge.
Players report roughly 19 enemy targets, including infantry, and five that disembark a train after waypoint A, meaning full elimination requires keen target prioritization.
Variations in mission spawns and event outcomes can affect the exact target count; you never need to sacrifice allies to meet medal conditions.
Siege of Cartagena
| Medal ID | Requirement | Bronze | Silver | Gold |
|---|---|---|---|---|
| ally_kills_0to2 | Allies killed, equal to or less than | 2 | 1 | 0 |
| enemy_kills_6to15 | Enemies killed, equal to or greater than | 6 | 11 | 15 |
| no_recon_with_kills | Kills without recon | — | — | — |
| req_spent_50to180 | Requisition spent, equal to or less than | 180 | 100 | 50 |
Gold medals require 15 enemies killed, no friendly casualties, and refraining from using recon, while spending no more than 50 requisition points.
Efficient resource utilization and cautious engagement timing are critical for these objectives.
The Gorge
| Medal ID | Requirement | Bronze | Silver | Gold |
|---|---|---|---|---|
| ally_kills_0to2 | Allies killed, equal to or less than | 2 | 1 | 0 |
| kill_streak_4to10 | Consecutive kill shots, equal to or greater than | 4 | 7 | 10 |
| enemy_kills_10to30 | Enemies killed, equal to or greater than | 10 | 20 | 30 |
| kill_shot_ratio_0.8to2_10kills | Kills per shot, with at least 10 enemy kills | 0.8 | 1.5 | 2 |
Achieving Gold requires 30 enemy kills, maintaining a 10-kill streak, and sustaining a 2.0 kills-per-shot ratio. The latter means you must balance accuracy and kill efficiency tightly.
The kills-per-shot ratio mandates at least 10 kills before it applies—so spreading kills too thin won't meet Gold standards.