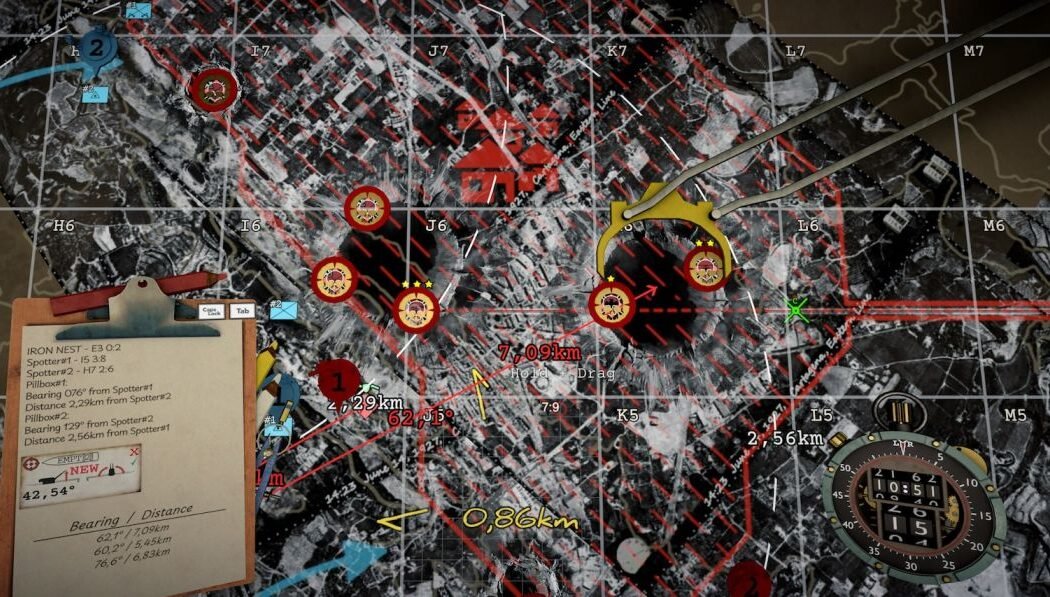
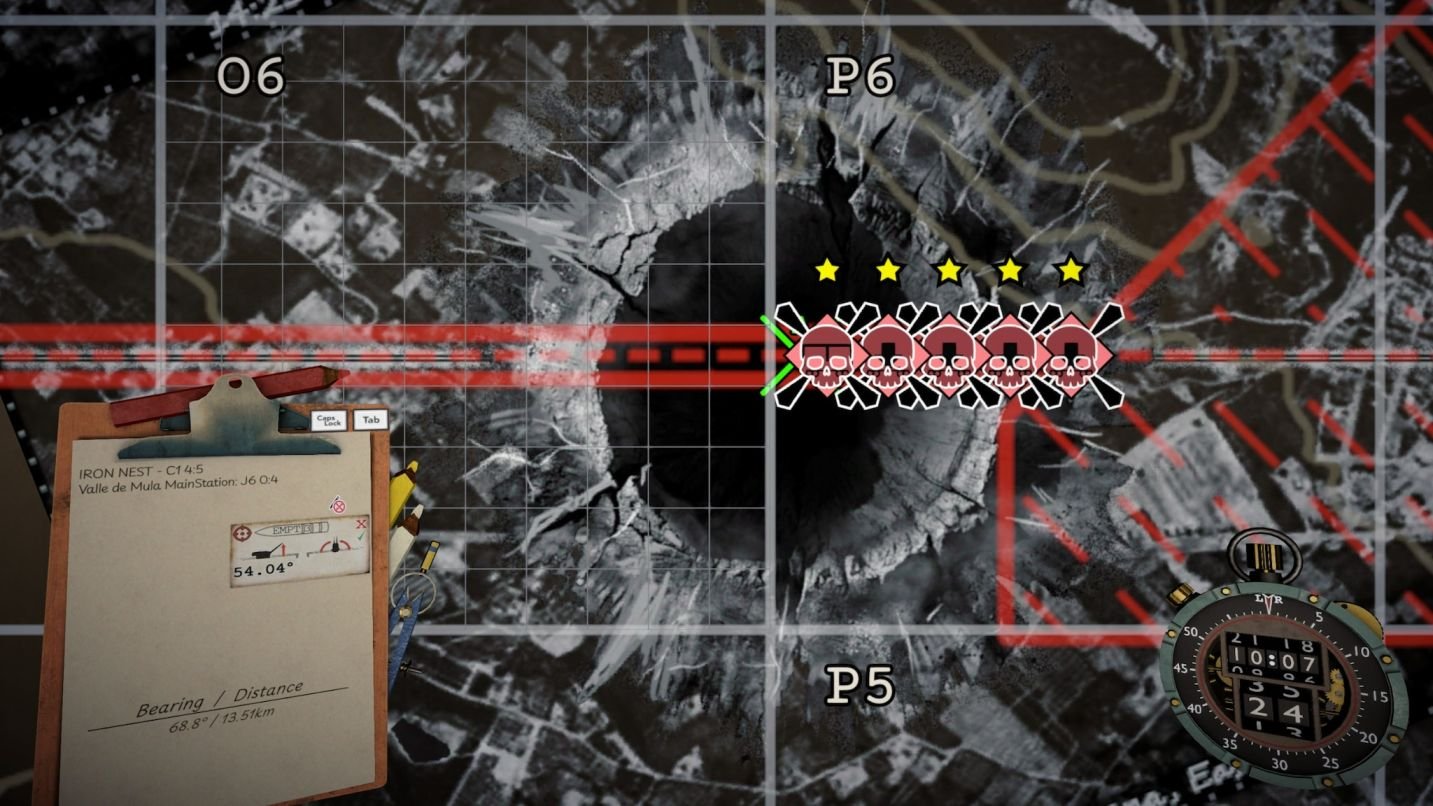
IRON NEST: Heavy Turret Simulator challenges players to conclude its final mission with one of four endings, each linked to a specific achievement. While three endings are relatively straightforward—requiring a precise shell choice and a shot landing within city limits—the third demands a significant shift in strategy, turning fire against allied forces in a risky and complex betrayal.
Because the game lets you reload the final mission to pursue other endings, you can theoretically save any for later. However, the first run is crucial for the tricky third ending, as you’ll start with enough credits to afford the powerful Atomic shell. Reloading after other endings reduces your starting credits substantially, adding to the challenge.
Basic Firing Setup for Endings 1, 2, and 4
The final mission always begins at the southwest corner on the map, marked A1 0:0. This consistent starting point helps standardize your approach to targeting within the city.
For the peaceful, chemical, and destructive endings—Endings 1, 2, and 4—you don’t need pinpoint accuracy. Landing the shell anywhere within the city boundaries is sufficient to trigger the desired outcome.
A practical aiming reference is a simple target located near L5 in the northwest corner of the map.
Use these firing parameters for reliable city hits:
- Bearing: 66°
- Distance: 12 km
- Powder charges: 6
- Barrel angle: 24°
The barrel angle varies with powder charges, outlined in the table below.
| Powder Charges | Barrel Angle |
|---|---|
| 6 | 24° |
| 5 | 28° |
| 4 | 36° |
| 3 | 48° |
| 2 | 60° |
| 1 | Out of range |
For the quickest execution of these endings, sticking to 6 powder charges, a bearing of 66°, and a 24° barrel elevation is efficient and effective.
Remember, the critical factor is the shell’s landing zone within the city, not a specific building or unit.
IRON NEST Ending 1: Peace
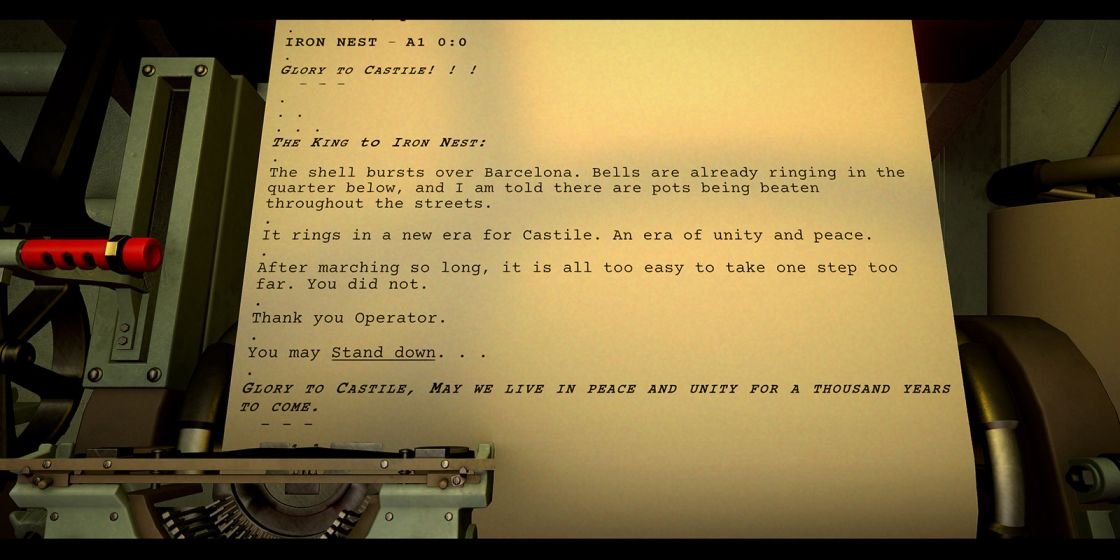
Achievement: “A City in Celebration”
This peaceful conclusion requires firing a single non-lethal shell into the city.
Choose one of the following shell types:
- Star shell (STAR)
- Smoke shell (SMK)
- Propaganda shell (PRPG)
Load your selected shell and fire it so it lands anywhere within the city borders to trigger the ending.
Accuracy to a target is unnecessary; the key is that the shell detonates inside the city limits.
The ending activates immediately upon impact.
Quick Setup:
Shell: STAR, SMK, or PRPG
Bearing: 66°
Distance: 12 km
Powder: 6 charges
Elevation: 24°

Completing this will also award the “A City in Celebration” achievement.
IRON NEST Ending 2: Submission
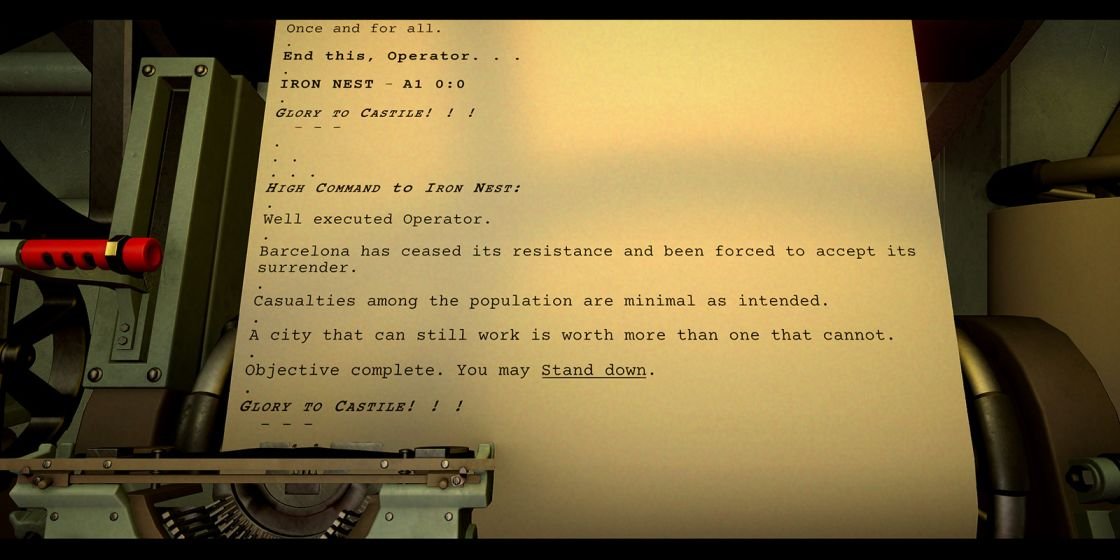
Achievement: “A City Subdued”
This ending relies on chemical, non-lethal shells to subdue the city without destruction.
Use one of these chemical shells:
- Tear Gas shell (TEAR)
- Phosgene Gas shell (PHGN)
- White Phosphorus shell (WP)
- Cyanogen Gas shell (CYAN)
Fire a single shell to land inside city boundaries, triggering the ending.
Specific target hits aren’t necessary; location within the city is key.
The ending activates immediately upon shell landing.
Quick Setup
Shell: TEAR, PHGN, WP, or CYAN
Bearing: 66°
Distance: 12 km
Powder: 6 charges
Elevation: 24°
You’ll unlock the “A City Subdued” achievement upon success.
IRON NEST Ending 4: Destruction
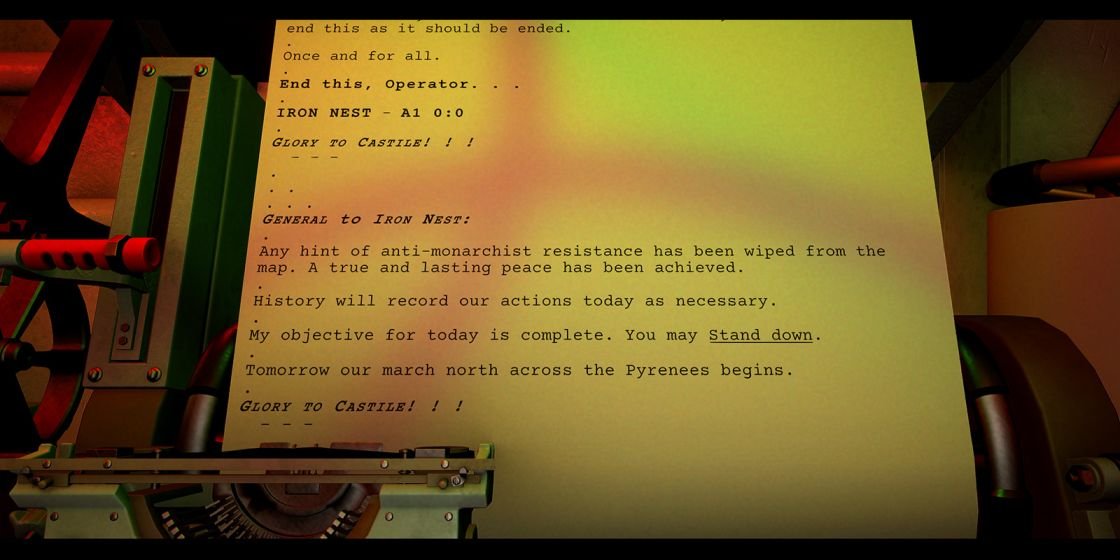
Achievement: “A City Silent”
This ending demands a single lethal or regular shell to signal total destruction.
Possible shell choices include:
- High Explosive (HE)
- Armor Piercing (AP)
- Incendiary (INCN)
- High Capacity High Explosive (HCHE)
- Drill (DRIL)
- Low-grade Explosive (LE)
- Parachute-delayed Cluster (PCLM)
- Armor Piercing High Explosive (APHE)
- Thermal Incendiary (THRM)
- Earthquake (EQKE)
The Earthquake shell becomes available during this mission.
If you’ve secured one, the Atomic shell (ATMC) also qualifies.
Fire your chosen lethal shell once into the city to trigger the ending without needing further shots.
After the shell lands, allied artillery will begin bombarding the city, culminating in the ending sequence.
The ending triggers shortly after impact.
IRON NEST showing newspaper with atomic explosion image, not always proof of Atomic shell use.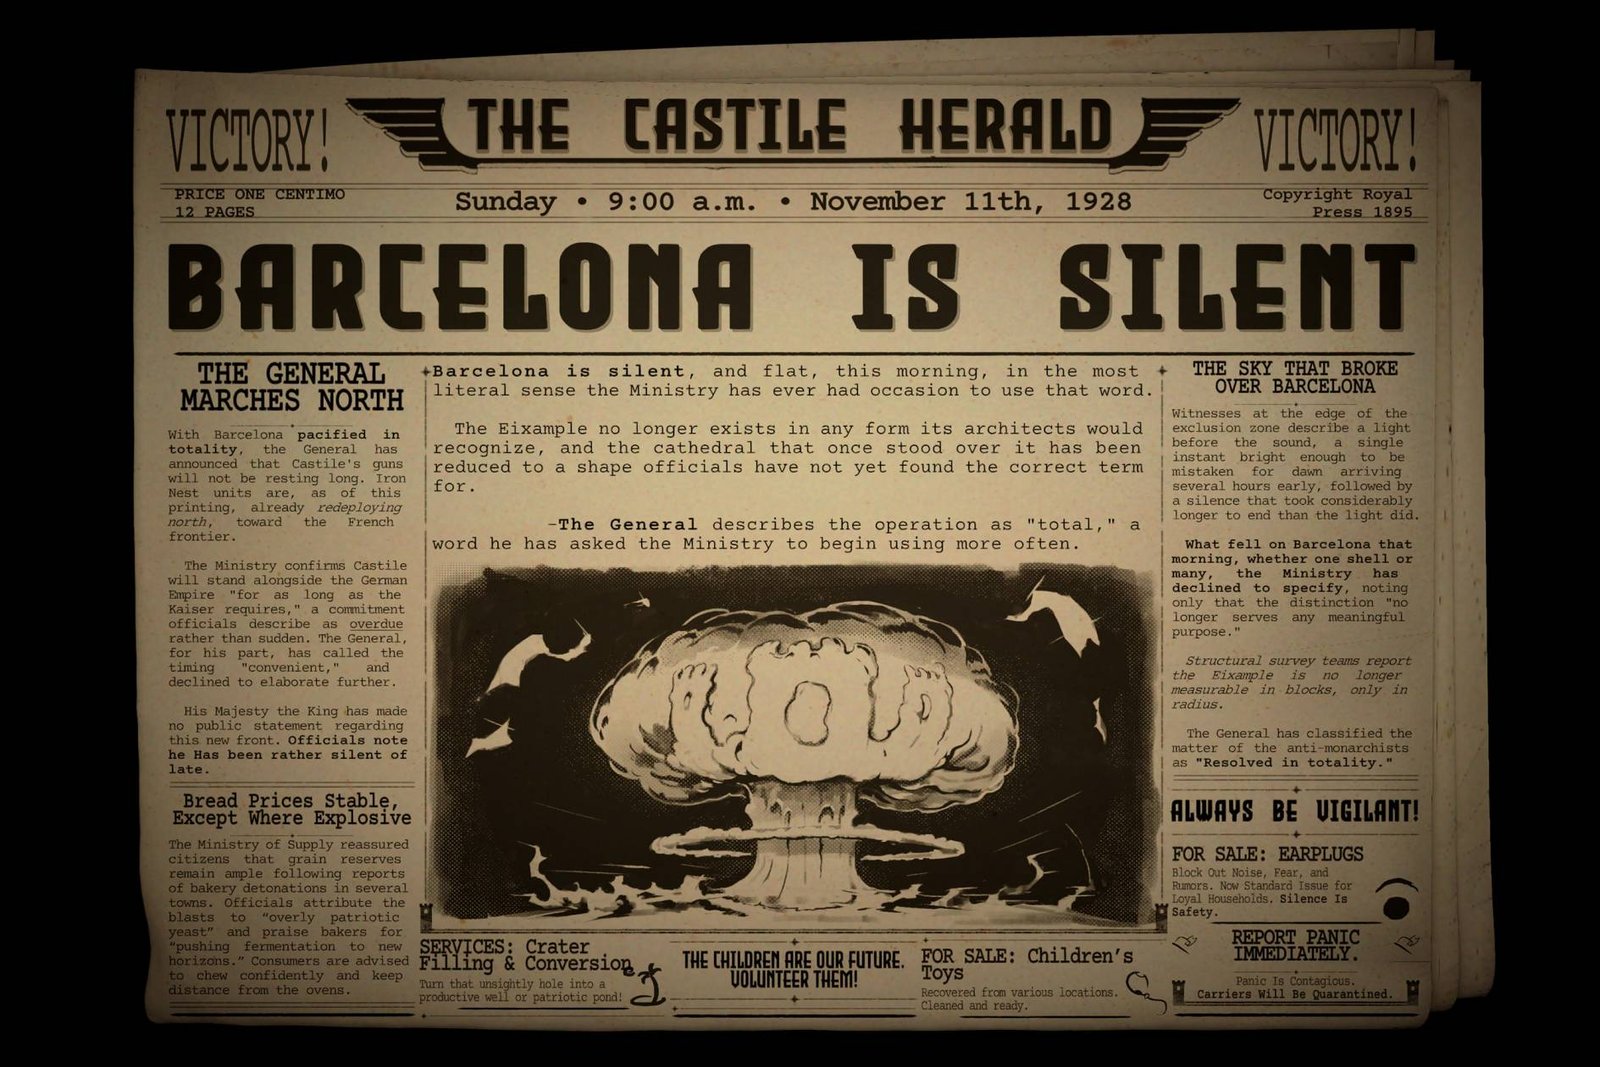
Completing this ending grants the “A City Silent” achievement.
IRON NEST Ending 3: Betrayal
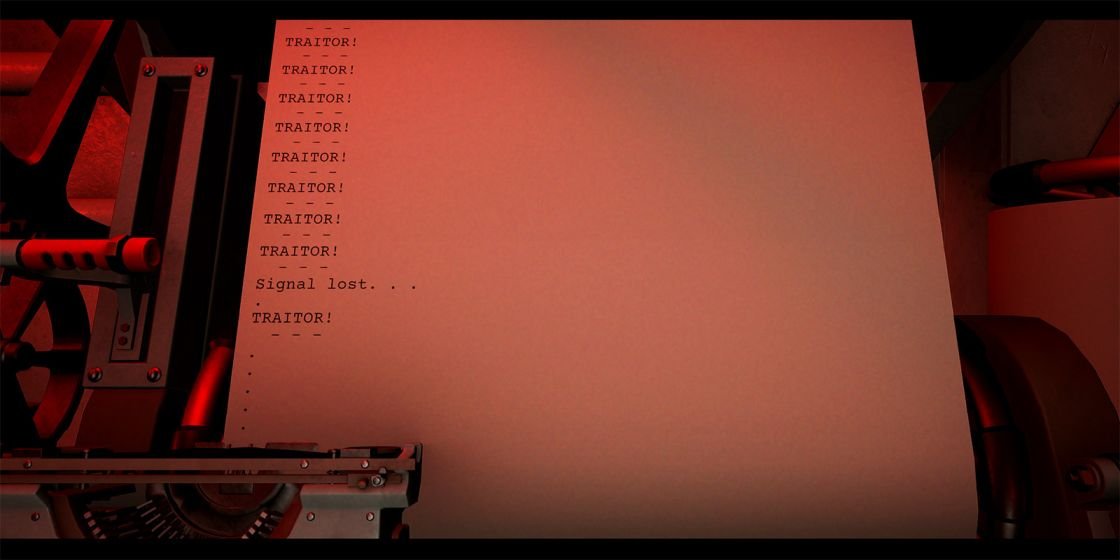
Achievement: “The Road Not Taken”
This is the most demanding ending, requiring a radical change in tactics: turning the turret’s firepower against your allies.
You must disable the allied counter-battery capabilities by targeting their artillery and command structures.
Importantly, not every allied unit needs destruction; focus is key.
The essential objectives are:
- Destroy the High Command
- Eliminate all allied artillery units
Other units can be left alone, making this a precise mission of suppression rather than total annihilation.
The mission spawns 11 allied artillery units, so efficient targeting coastlines make the job manageable.
Do Ending 3 First
Attempt this ending before the others when possible.
On your first final mission run, you’ll have enough credits to acquire the Atomic shell (ATMC), priced at 666 credits, a powerful asset for the task.
Reloading after other endings reduces your credits to the baseline 700, making it harder to purchase vital resources alongside heavy ammunition.
Though still possible with fewer credits, the later attempts demand careful planning and restraint.
Ending 3 With the Atomic Shell
To streamline this ending, prepare the following arsenal:
- 1 Atomic shell (ATMC)
- 5–7 Scout Planes
- 4–6 APHE shells
- 1–3 HCHE shells
- At least 25 Powder Charges
Scout planes are essential to reveal the battlefield layout and locate enemy forces before engagement.
Scout Plane Positions
Five scout planes are sufficient to map nearly the entire battlefield.
Launch them from these positions, all heading due north (0°):
- B1 — 0°
- D1 — 0°
- F1 — 0°
- R1 — 0°
- T1 — 0°
For comprehensive coverage, consider deploying seven scouts:
- A1 — 0°
- C1 — 0°
- E1 — 0°
- G1 — 0°
- R1 — 0°
- T1 — 0°
- H9 — 90°
Keep in mind that most allied unit placements are randomized each game.
Two locations remain fixed:
- Iron Nest: A1 0:0
- High Command: B4
Plan Everything Before Your First Shot
This is the cornerstone of success for the Betrayal ending.
The game’s timer for enemy counter-battery fire doesn’t start until your first aggression on an allied unit, giving you time to plan thoroughly.
Use this time to scout, map enemy artillery, identify High Command, and calculate shooting solutions.
Purchase all necessary ammunition before any attack, because post-engagement purchases are disabled and the counterattack timer starts immediately.
- You’ll be flagged as a traitor
- The counter-battery timer begins
- Purchasing will be disabled
- Additional ammo buys become impossible
To maximize your efficiency, preload your guns with one active shell and six reserve shells, giving you a total capacity of 14 shells across both barrels.
Use the Atomic Shell FirstYou can also load the guns before starting the attack. Each gun can hold the first loaded shell plus six reserve shells, giving you 14 shells total across both guns.
Use the Atomic Shell First
The Atomic shell has a blast radius of about 3 km, making it a game-changer for quickly eliminating clustered key targets.
A good initial target is around D5 3:5, which encompasses the High Command and multiple nearby enemy units.
Since unit placement is randomized, verify your map carefully before committing your shots.
Using atomic fire first extends your counter-battery survival time by crippling numerous enemies simultaneously.
Subsequently, concentrate on extinguishing remaining artillery units with more precise shells.
Ignore infantry and other non-essential targets to conserve resources and time.
Prioritize Allied Artillery
Your primary focus must be the enemy artillery, as these pose the greatest threat to your turret’s survival.
Previous strategies suggested destroying spotting units to impair enemy counter-battery effectiveness, but testing shows this is non-essential for unlocking Ending 3.
To meet victory conditions, be sure to eliminate:
- High Command
- All 11 allied artillery units
Deploy APHE shells against armored artillery, and HCHE shells against groups of lightly armored or unarmored units to maximize efficiency.
Barrel Angle Formula
Instead of relying solely on an elevation calculator, you can use this formula for determining barrel elevation:
Angle (degrees) = (Distance in km × 12) ÷ Powder Charges
This breaks down per powder charge as follows:
| Powder Charges | Formula |
|---|---|
| 1 | Distance × 12 |
| 2 | Distance × 6 |
| 3 | Distance × 4 |
| 4 | Distance × 3 |
| 5 | Distance × 2.4 |
| 6 | Distance × 2 |
| Charges | Formula |
|---|---|
| 1 | Distance × 12 |
| 2 | Distance × 6 |
| 3 | Distance × 4 |
| 4 | Distance × 3 |
| 5 | Distance × 2.4 |
| 6 | Distance × 2 |
For example, a target 8 km away with 6 powder charges requires a barrel angle of:
8 × 2 = 16°
Using 6 powder charges for most shots can reduce your turret adjustment time, speeding up your mission significantly during Ending 3.
Order Your Targets by Bearing
Random targeting wastes valuable time and risks poor positioning.
Calculate firing solutions for all enemy units before firing, then sequence your shots by increasing bearing angle to minimize turret movement.
For instance, firing targets in this order keeps your turret rotation efficient:
20° → 35° → 48° → 61° → 74° → 86°
Some players have optimized their runs by preparing firing cards or notes with the next two target coordinates and firing parameters ready to improve pace and accuracy.
Using a clipboard or digital notes to organize firing sequences can make the difference between a chaotic attempt and a smooth, successful mission.