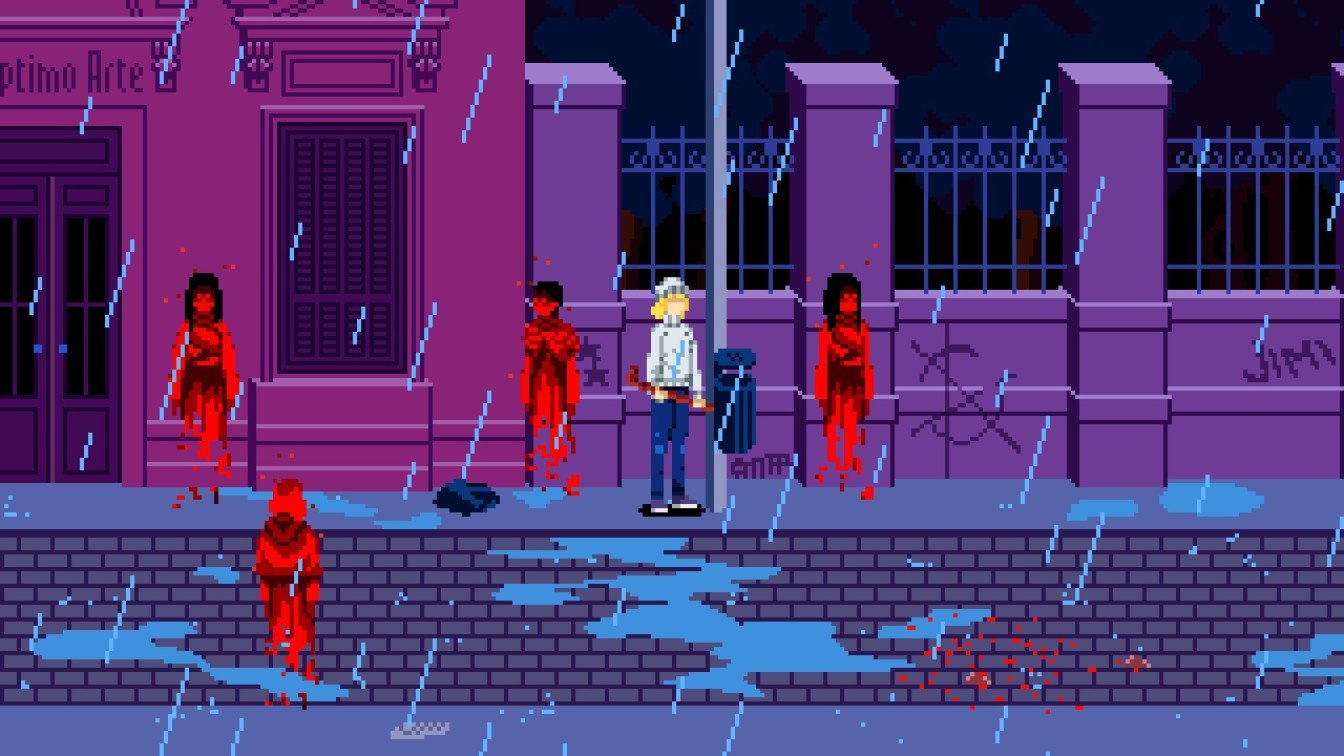
Julia is left trapped alone in the mysterious zone of Desiderium after Sanguis's betrayal, clutching only the Apartment Key. The challenge now is to piece together fragments of this forsaken realm and find a way out, using every clue and item uncovered along the way.
Details in this walkthrough focus on navigating through Tenebris Somnia's eerie Desiderium, advancing through floors packed with puzzles, hostile encounters, and story revelations.
For full context about the game, Tenebris Somnia’s Steam page offers the official description and community insights.
Table of contents
- Floor 0 – Film School
- Retrieving Julia’s Belongings
- Purifying the Apartment Key
- Obtaining the Red Candle
- Floor 1 – Movie Theater/Film Set
- Obtaining the Lead Fly Insignia
- Obtaining the Tin Key
- Floor 2 & 3 – Ivan’s Apartment
- Obtaining the Lapis Fictus Knife
- Obtaining Acids of the Tartarus Tamed By Iron
- Obtaining the Blessing of Sunlight
- Bathe The Weapon in Three Elements
- Revitalize by Electricity (Melanosis Knife)
- Immersed in a Pool of Mercury (Viridis Knife)
- Bathed in the Light of the Moon (Aurifer)
- Entering the Septimo Arte Building
- How to Beat Hermes (Ending #2)
- Phase #1
- Phase #2
- How to Beat Lacuna (Ending #1)
- Phase #1
- Phase #2
Floor 0 – Film School
You begin at the Save Point on the Film School’s Stairwell. Dropping down to the bottom, you'll enter the Floor 0 Hallway. Early on, the ghost of Ivan can be seen exiting via a door on the right, but following him isn’t an option yet since the necessary Candles to ascend the building are missing.
No need to chase after those ghosts just yet; you don’t have the required Candles to move forward on those floors.
Retrieving Julia’s Belongings
Head west along Floor 0’s hallway. At the end, a Red Door leads into the TV Room — a dim, unsettling space where you’ll have to activate the TV Screens by interacting repeatedly until they flicker on.
Turning on all the TV Screens reveals the Blue RCA Cable sitting on the table. Grab it—it’ll be crucial soon.
Leave the TV Room and step into the Cinematography Class through the Green Door. Trying to use the Blue RCA Cable with the camera does nothing right now, as you also need the Yellow RCA Cable to make the connection.
Back in the hallway, approach the Stairwell. Suddenly, the Blue Door swings open and an enemy ambushes you. With no weapons available yet, your best bet is to dodge and kite the threat around before slipping inside the Blue Door.
Inside this room, pick up the Black Bulb on the table. Then, quickly return to the hallway and rush to the Stairwell after the cutscene triggers.
Ascending to Floor 1’s hallway, beware a ghost enemy patrolling. These foes can swiftly dash for a lethal one-hit kill but tend to miss frequently, so patience and timing are key.
Go up to the Floor 1 hallway. You’ll see a ghost enemy floating around here. These enemies can dash toward you and kill you in one shot, but they have very poor accuracy.
Seek out the Photo Developing Studio via the Red Door. Here, apply the Black Bulb to the lamp at the bottom left corner to invert the world’s colors, instantly triggering two enemy ambushes.
Check your inventory after this—notice the RCA Cable has changed to yellow, signifying progress.
Return to the Cinematography Class and use the now-yellow RCA Cable on the camera. A rope emerges in the TV Set area on the screen—interact with the actual rope on the set to climb upwards.
Inside the Equipment Storage Room, flip the switch on the left wall to raise a grill. Once it’s fully up, switch it off and swiftly activate the switch on the right. Use this opening to reach into the chest and reclaim Julia’s belongings.
Purifying the Apartment KeyExit through the door at the room’s bottom, back to Floor 1’s hallway. Passing the enemy, enter through the Blue Door and shatter a glass wall to the north.
Position yourself near the pool of Purified Water and use the Apartment Key from your inventory. This key purification clears up pages in the Old Book as you advance.
After purifying, head back to the Stairway and review the Old Book—the previously indecipherable pages will gradually reveal their secrets.
Obtaining the Red CandleHead downstairs to Floor 0 and enter via the Blue Door. Inside, the scene has altered.
Approach the table with statues and interact. Julia will reflect on a memory, causing the Red Candle to fall from her statue—grab it.
Exit the Film School through the main eastern door of Floor 0 hallway, watching Ivan’s ghost carry Julia upwards in the elevator—although, you can’t follow via elevator as it’s non-functional.
The stairwell door near the elevator is now accessible, so take the stairs and light the Red Candle near the floor's sigil to dispel the barrier, opening your path.
Another dialogue with Sanguis awaits, then enter Floor 1 of Ivan’s Apartment building.
Floor 1 – Movie Theater/Film SetAs you step into Floor 1’s hallway, there’s a Save Point immediately to your right. Notice two locked doors marked with strange symbols on the right side.
Head left to enter Door A, leading into the Community Hall.
Obtaining the Lead Fly InsigniaInside the Community Hall, two giant Lead Fly Statues block the path to the Movie Theater, with a smaller Lead Fly resting on a stone platform ahead.
Instead of going straight to the Projector Room’s Stairwell, head left into a dark chamber where a Lead Fly Statue on a rock begins accumulating Sulphur.
By the time you reach the statue, it will be fully coated in Sulphur. Use your melee weapons to shatter it.
Return to the Community Hall and defeat the enemy there. One of the Lead Fly Statues blocking the door will be partially destroyed.
Now the puzzle begins: step on the room’s tiles in a specific order to cover the second Lead Fly Statue in Sulphur and break it. Because the tile order is randomized each attempt, expect some trial and error.
Here is the route we followed to solve the puzzle successfully.
Once both statues crumble, proceed northward to enter the Movie Theater.
Interacting with Julia’s Statue grants the Lead Fly, a key item. The chest by the screen remains locked for the moment.
Obtaining the Tin KeyReturn to Floor 1’s hallway and use the Lead Fly key to unlock the door emblazoned with the Lead Fly Insignia. Enter the Film Set and ascend the stairs.
At the top, enter the southern door to reach the Dinner Table Film Set and interact with the Sulphur-Coated Julia Statue.
A live-action cutscene triggers, followed by enemies attacking Julia’s Statue. Your objective is to defend her—each enemy can be dispatched with a single hit from your Pipe, but if the statue breaks, the run ends.
Once you survive the enemy wave, proceed through the middle door to the north and keep ascending the stairs.
More pages from the Old Book unlock as you climb. At the top, enter through the Cow Skull door to trigger another ambush, protecting the statue again.
After defeating the attackers, the mirror shatters to reveal a hidden door. Through it lies one more wave of enemies—using ranged weapons if you have ammo is highly recommended here.
Clear all adversaries to unlock the northern door. Inside, new Old Book pages become readable, and you find the Tin Key in the room’s center.
Use the Tin Key on the upside-down door to exit back to Floor 1’s hallway.
Return to the Movie Theater and unlock the chest with the Tin Key to obtain the Green Candle. Upon arrival, a behind-the-scenes Devora video plays on the screen.
Head to the Apartment Building Stairwell and use the Green Candle to remove the barrier upstairs, granting access to Floors 2 and 3.
After a short live-action cutscene, enemies start rushing in and attacking Julia’s Statue. Your job is to fight off the monsters and protect the statue. If the statue breaks, you die. The enemies will die in a single strike from the Pipe.
After surviving the wave of enemies, go through the middle door to the north.
Keep walking up the stairs till you reach the top. As you go up the stairs, more pages from the Old Book will clear up.
Head through the Cow Skull door at the top to trigger another similar ambush sequence. Like before, protect the statue and take down the enemies.
The mirror breaks after the encounter, revealing a door behind it. Head through.
Continue up the stairwell. More Old Book pages will clear up. You’ll find a broken shelf at the top. Move it out of the way and head in through the door.
This brings you to the final ambush sequence. I strongly recommend using your ranged weapons if you’ve got the ammo for it.
The door to the north becomes accessible once all enemies are defeated.
As you enter the next room, a few more pages of the Old Book become legible. Read through them. Then grab the Tin Key from the center of the room.
Go left and use the Tin Key to open the upside-down door and exit to the Floor 1 hallway.
Return to the Movie Theater and use the Tin Key to unlock the chest and grab the Green Candle. As you reach the Movie Theater, behind-the-scenes footage of Devora will start playing on the screen.
Return to the Apartment Building Stairwell and use the Green Candle to remove the barrier on the upper floor. This will let you access both Floor 2 and 3 of the building.