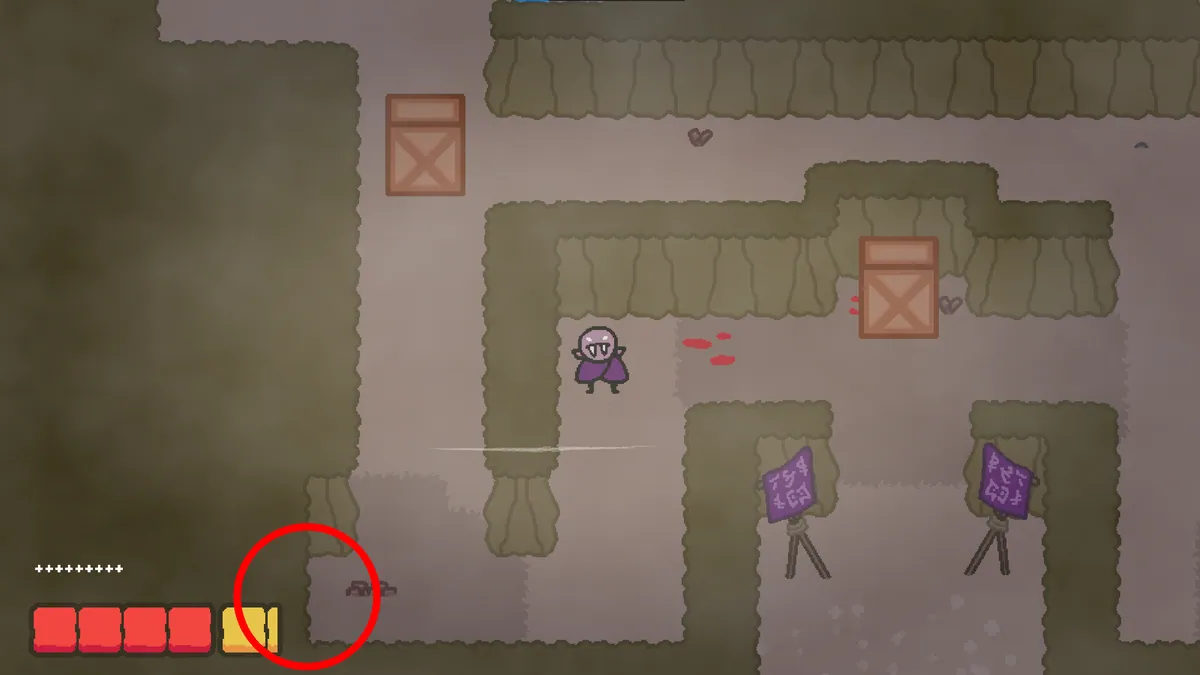
Vampy’s Big Day is a charming, puzzle-filled adventure that balances delightful visuals with clever environmental obstacles. Exploring each stage feels rewarding, but uncovering every secret tucked into the terrain requires a sharp eye and thorough exploration.
Scattered across the campaign are 16 elusive gnomes. While a few sit right in your path, many remain hidden behind subtle wall shadows, deceptive patches of foliage, and concealed tunnels that are easy to overlook during casual play.
This guide walks you through every gnome location across Levels 1 through 6. Following these directions ensures you will grab every collectible without missing critical branching routes or accidental level triggers.
Level 1 Gnome Location
Gnome 1: Village Entrance
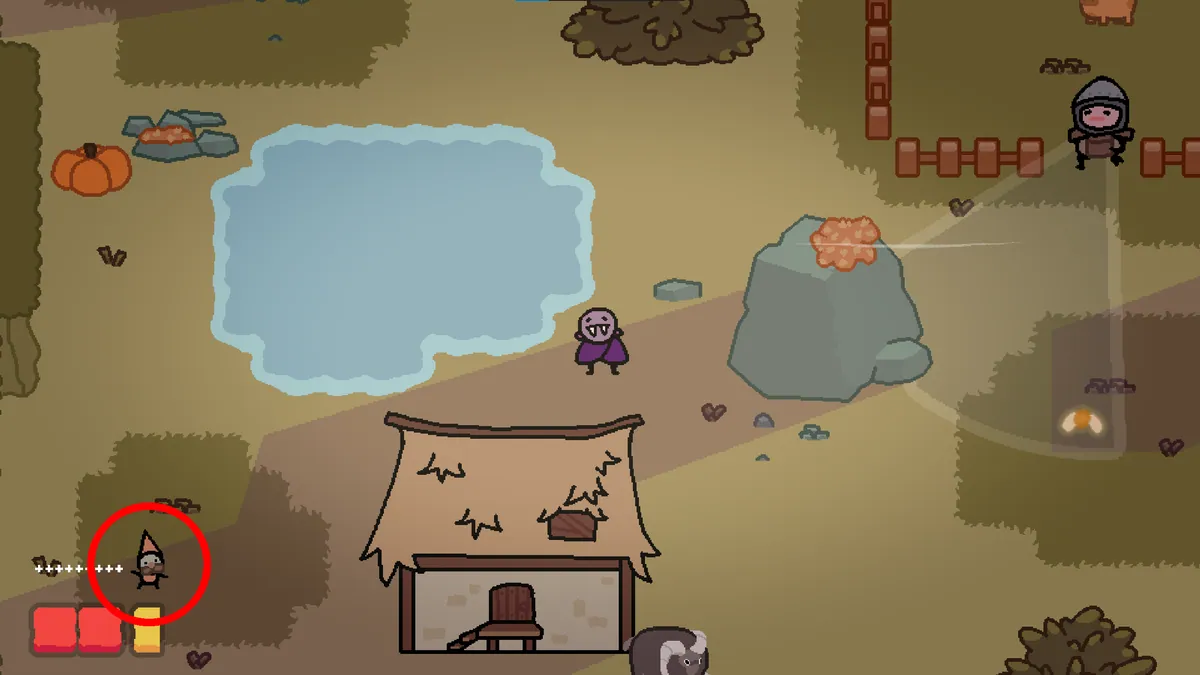
Upon arriving in the spacious village area where the first guard stands watch, direct your path toward the lower-left section. Unlike later collectibles, this gnome rests out in the open and does not require entering any concealed shortcuts.
Level 2 Gnome Locations
Gnome 1: Barnaby’s Left Chamber
Begin at Barnaby's location and head into the first room to the left. Walk directly upward through the chamber and examine the wall on the left side to uncover a hidden doorway that opens into the first secret nook.
Gnome 2: Shadowed Wall Alcove
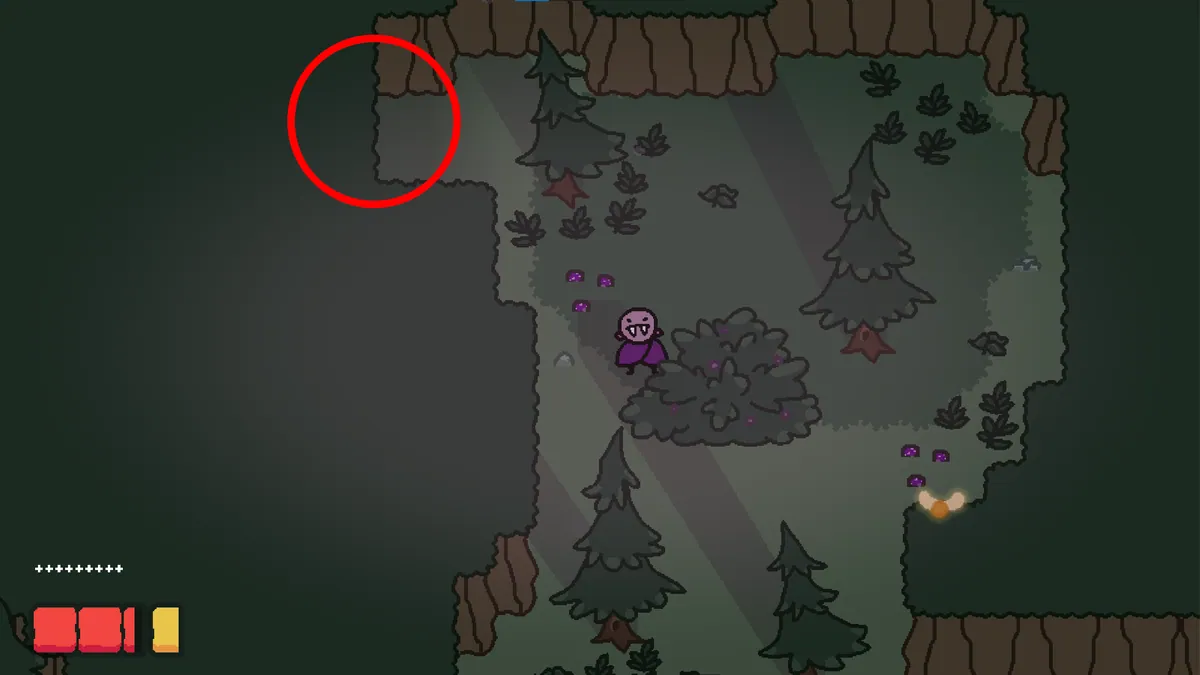
Take the left path starting from Barnaby and continue all the way to the final chamber along that corridor. Inspect the wall surfaces carefully for a faint shadow, which reveals an obscured passage hiding the second gnome.
Gnome 3: Post-River Passage
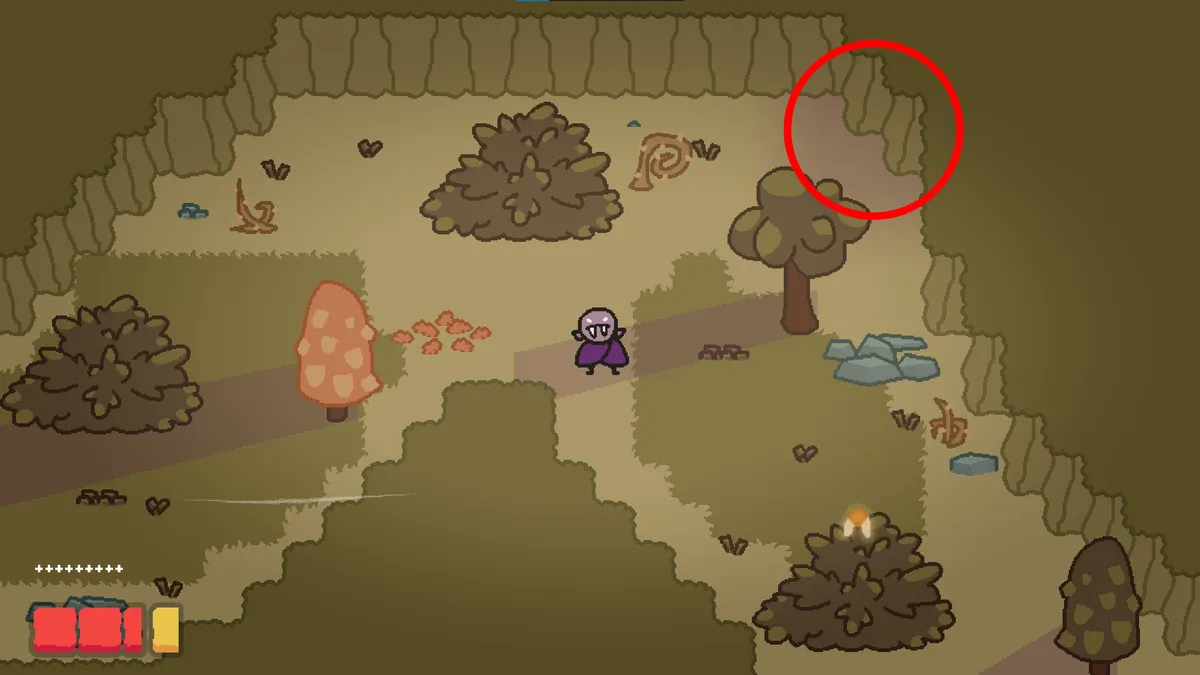
Starting from Barnaby, head right and proceed downward. Cross over the river into the adjacent area, then inspect the right wall. Look for a distinctive shadow marker to find the tunnel concealing the third gnome.
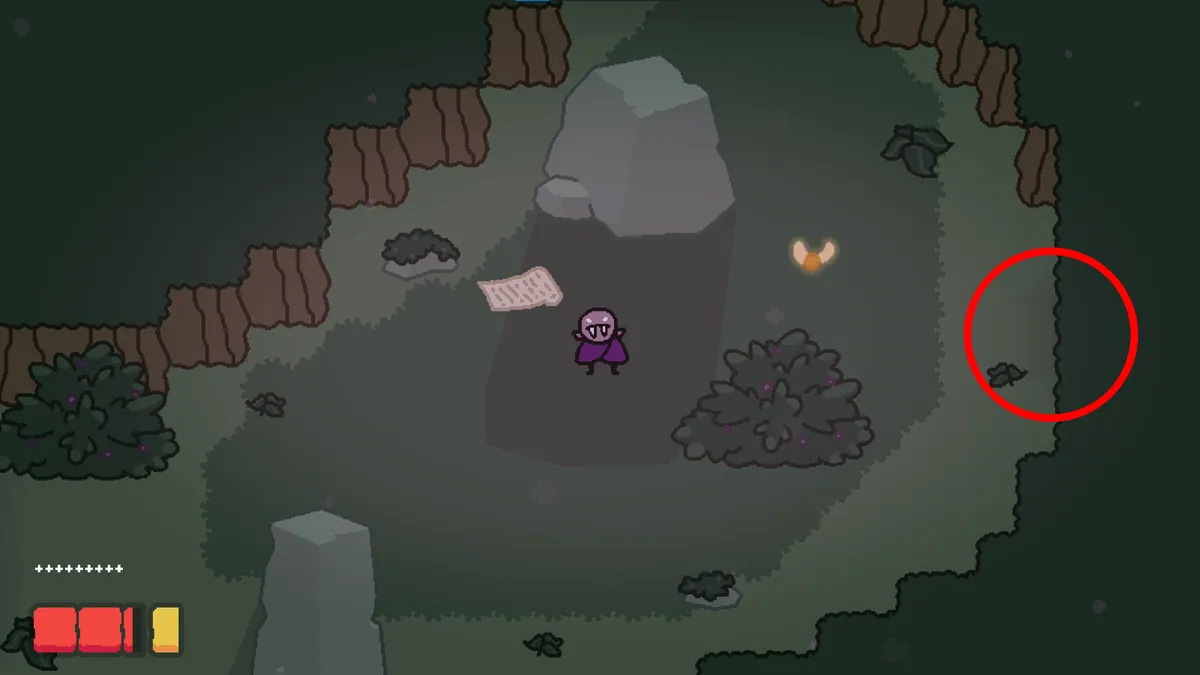
Gnome 4: Lakeside Pathway
Move into the chamber containing the rope located to the right of Barnaby. From there, travel upward and trace the perimeter around the small lake to spot the gnome standing along the water's edge.
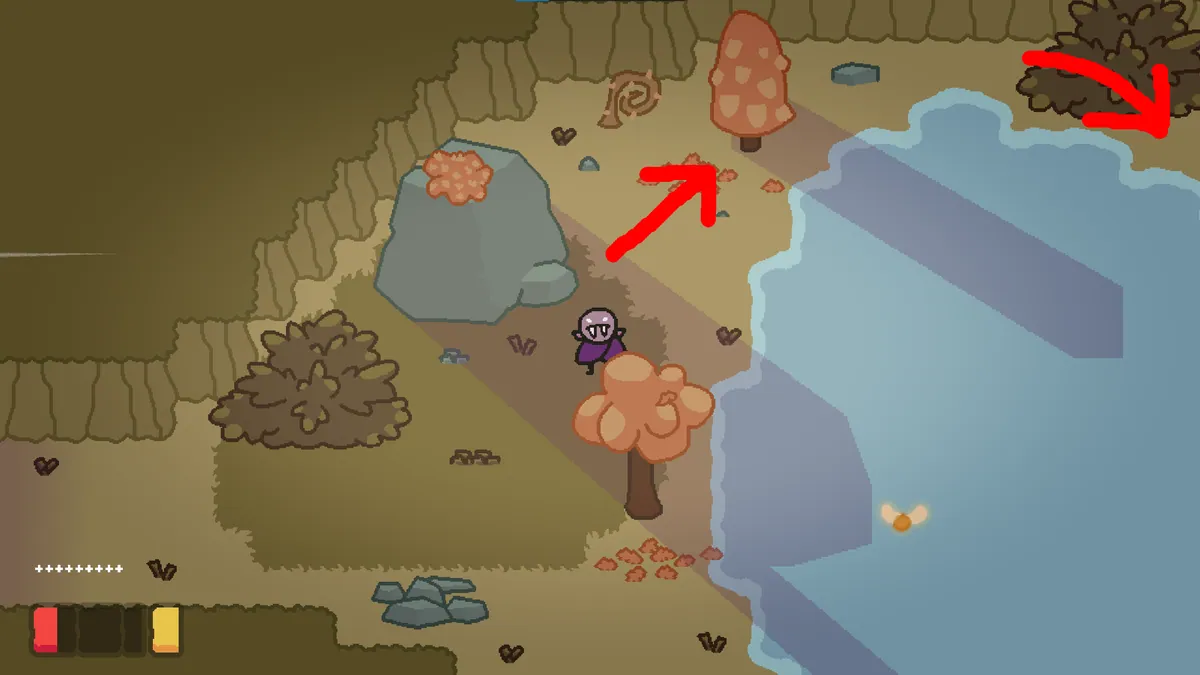
Gnome 5: The Locked Exit Corridor
Once Barnaby hands over the key, unlock the door and head up and to the right. Watch the boundary wall for an indentation indicating a concealed alcove containing the final gnome of the stage.
Important note for evil playthroughs: Avoid slaying Barnaby before retrieving this collectible, as his death instantly concludes the stage. If the mission completes prematurely, closing the game with Alt+F4 on the tally screen allows another attempt to grab the gnome.
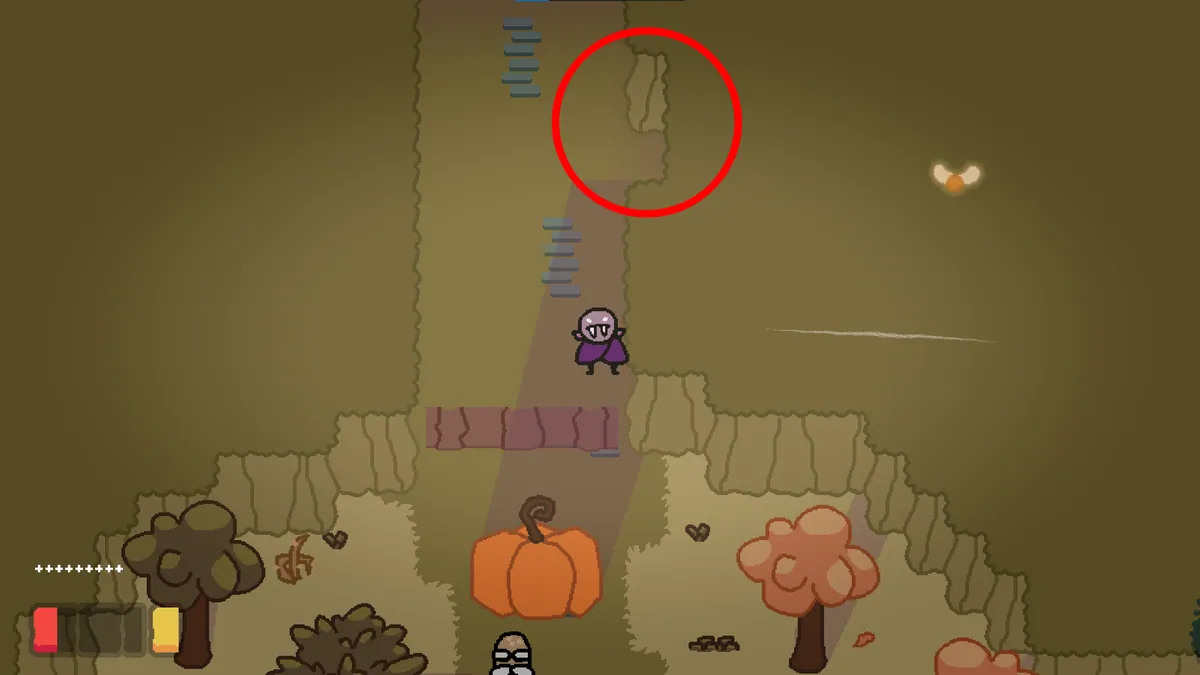
Level 3 Gnome Locations
Gnome 1: Trailing the Spy
In the chamber where you must tail the spy, steer toward the lower-left corner. Search along the wall for a small recess bordered by noticeably darker turf, which acts as the entryway to a secluded gnome cache.
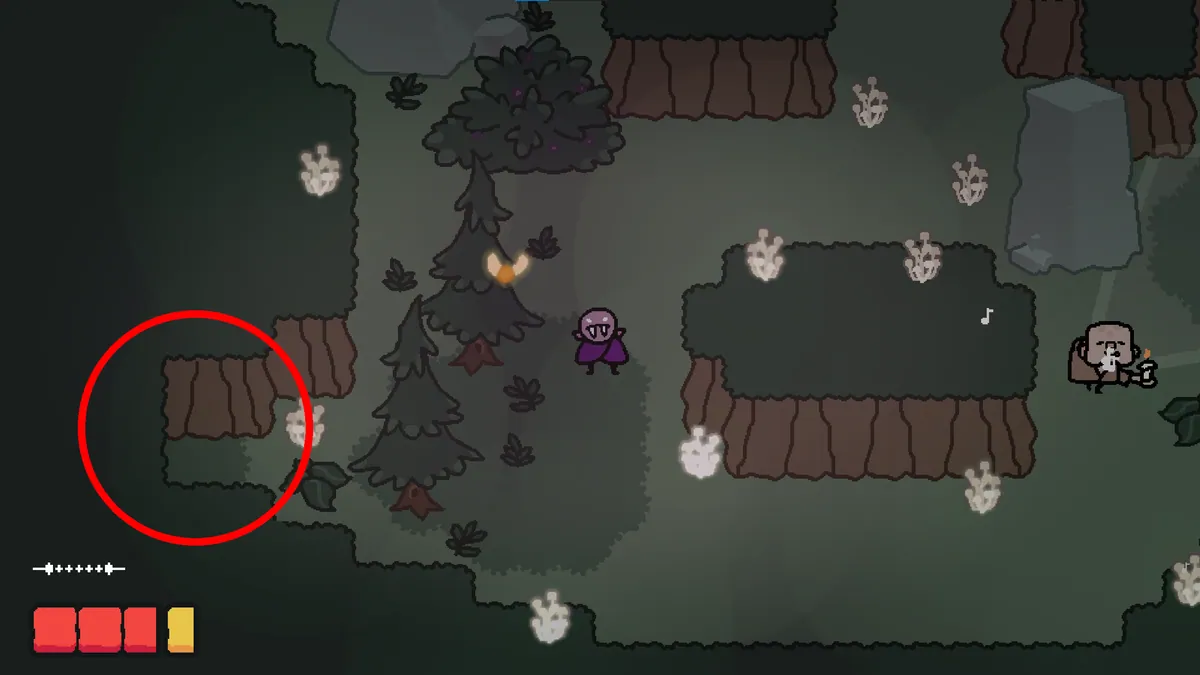
Gnome 2: Hushroom Above the Slumbering Grub
Within the river chamber lined with hushrooms, scan the space directly above the final grub to spot an additional hushroom leading toward the gnome. Using bites works well here, as biting generates significant sound to pinpoint the mushroom's location.
Pacifist tip: If a grub awakens while navigating this puzzle, freeze completely. Grubs rely purely on hearing rather than sight and will drift back to sleep once noise stops.
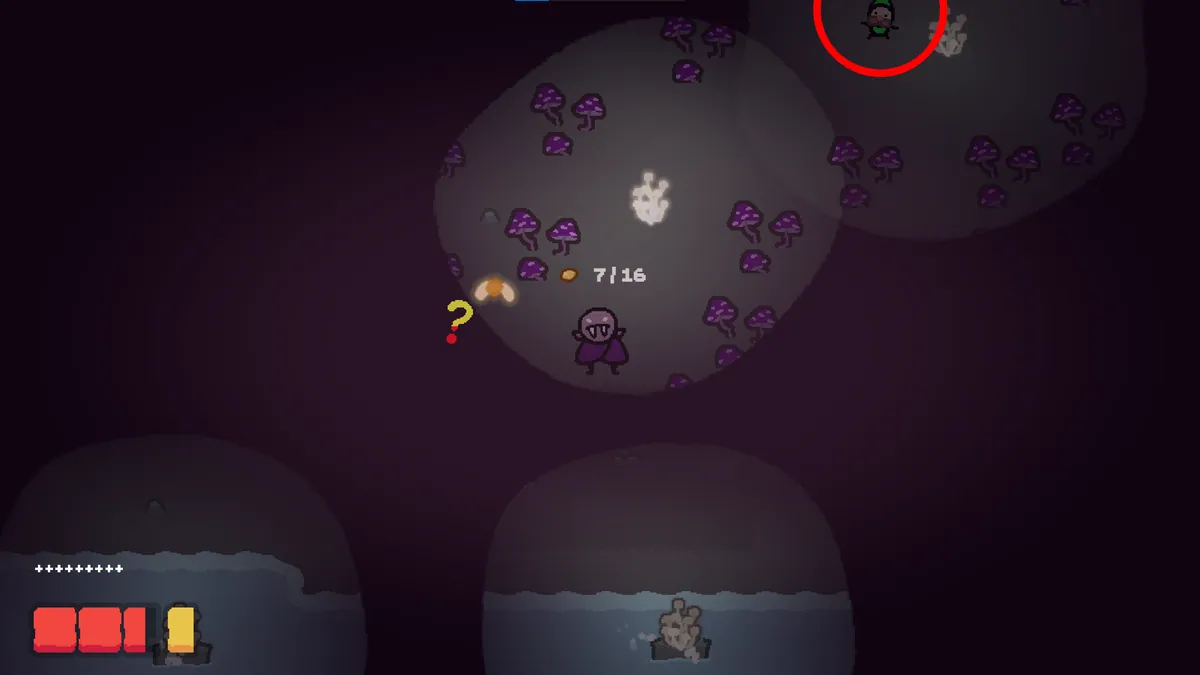
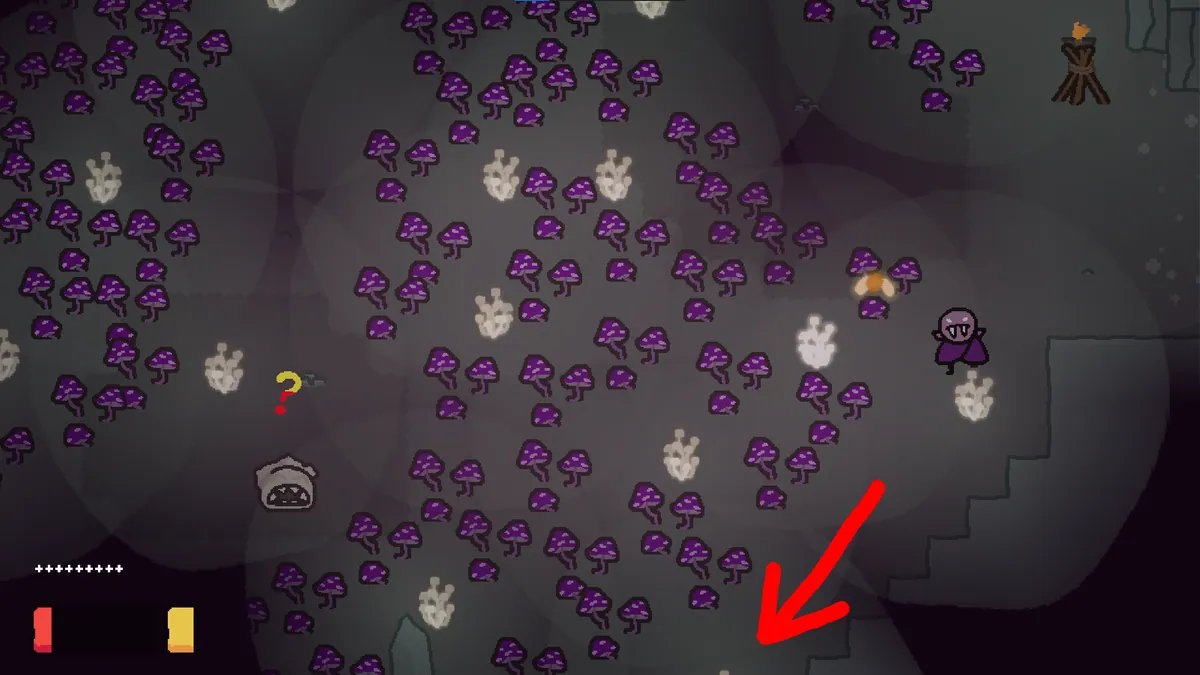
Gnome 3: Beneath the Silver Key Fungi
Enter the chamber housing the silver key and navigate straight downward, passing underneath the cluster of mushrooms. Continuing directly down leads into the clearing where the gnome rests.
Level 4 Gnome Locations
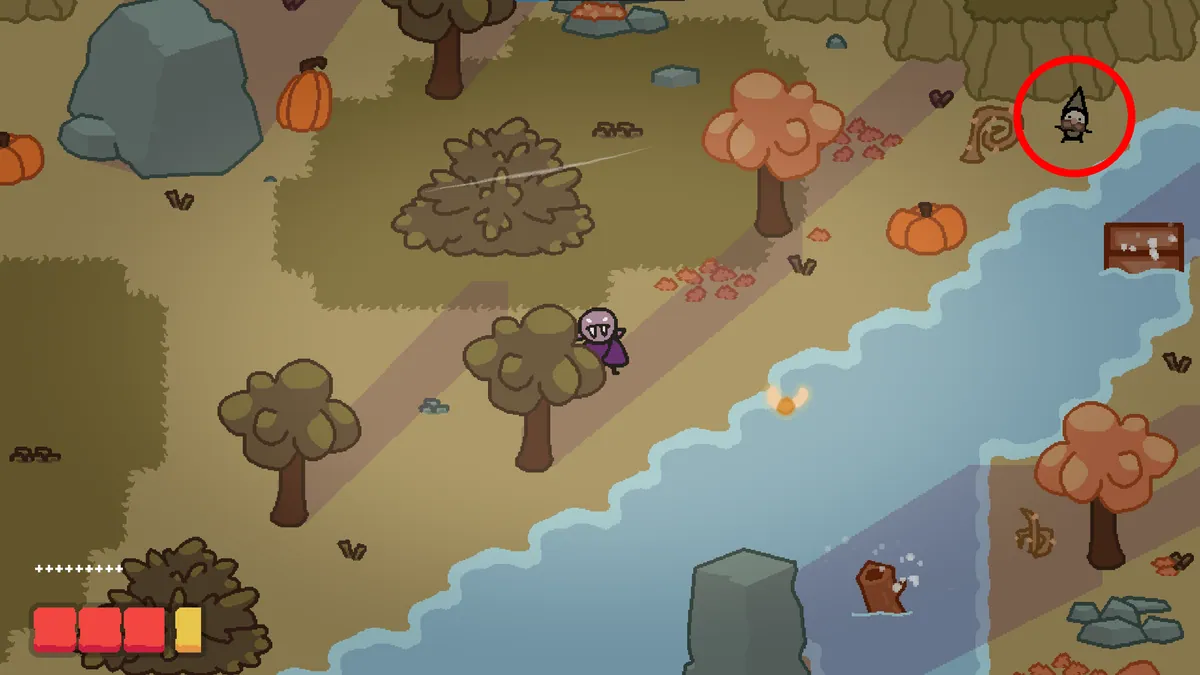
Gnome 1: River Crossing with Glurk
Directly after assisting Glurk across the river, push forward toward the upper-right corner of the clearing. The gnome waits in plain sight nestled within the far corner.
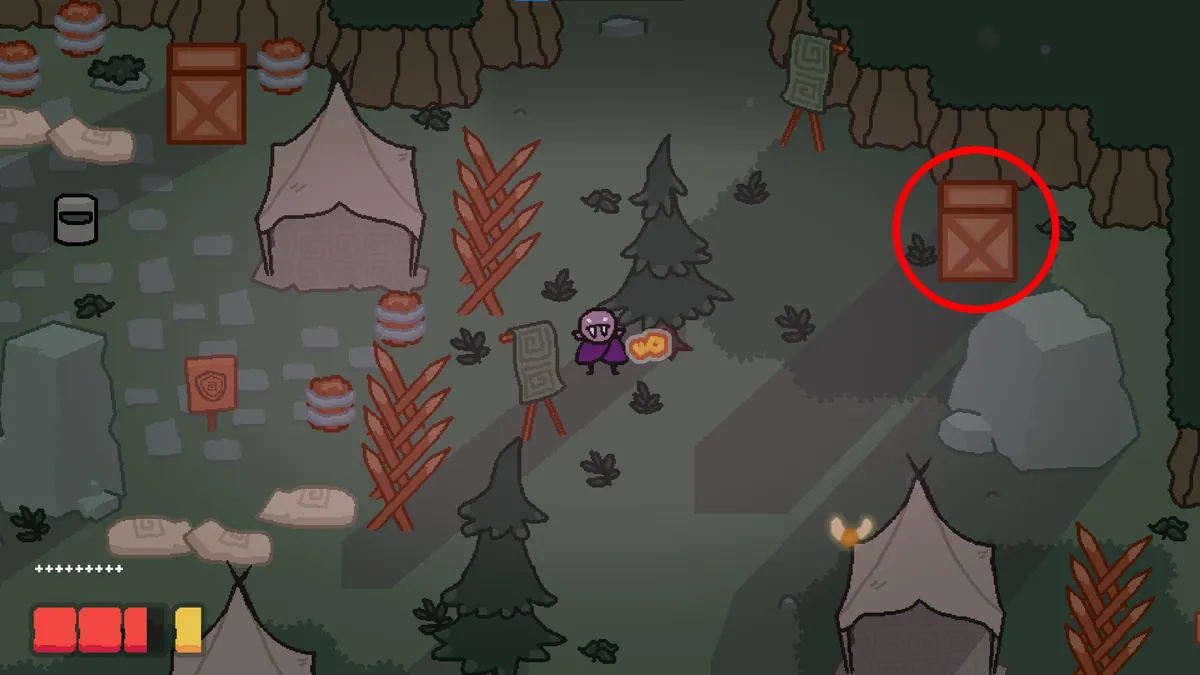
Gnome 2: Concealed Crate in the Helmet Room
Inside the room housing the helmet, track down the marked crate. Push or pull the container out of its resting position to reveal the hidden gnome stashed immediately behind it.
Gnome 3: Golden Key Turf Passage
Head into the chamber unlocked with the gold key and inspect the lower boundary for a dark patch of grass. Stepping into this darker patch accesses a secret tunnel holding the gnome.
Players progressing along the good route can alternately reach this spot after Thora reveals the upward-leading shortcut within the room situated just left of the Hollowseed chamber.
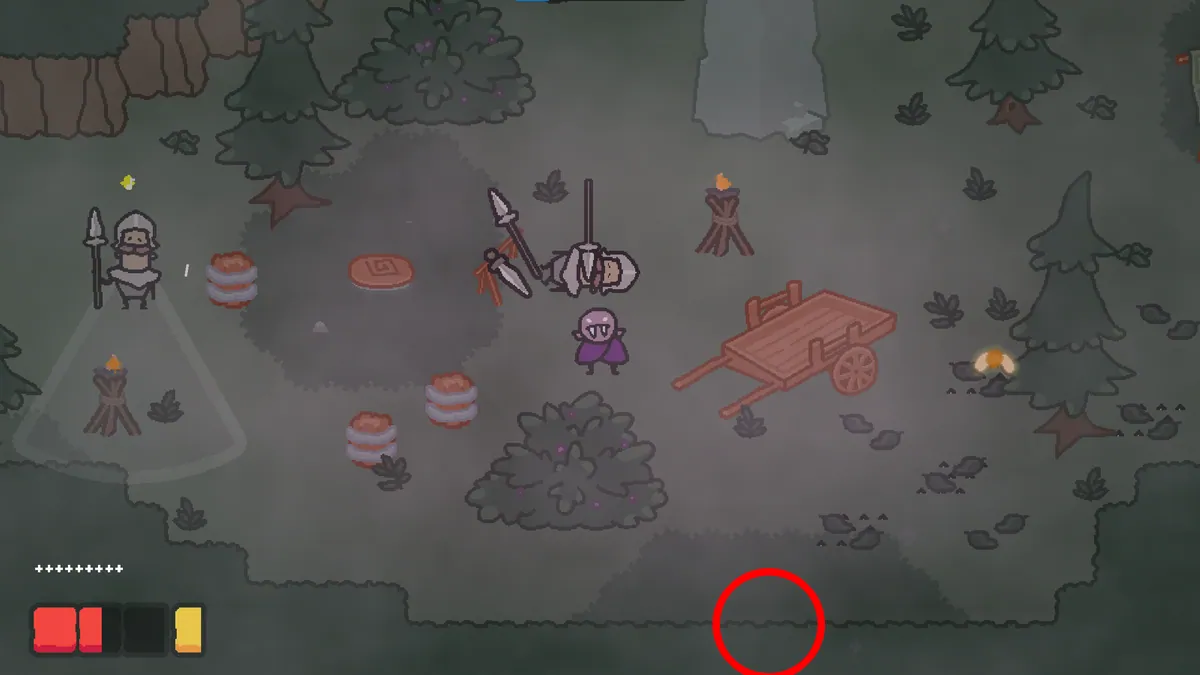
Gnome 4: Foliage Near the Hollowseed
Enter the area directly to the left of the Hollowseed room. Check the overgrown shrub in the upper-left corner of the map to pull out the fourth gnome.
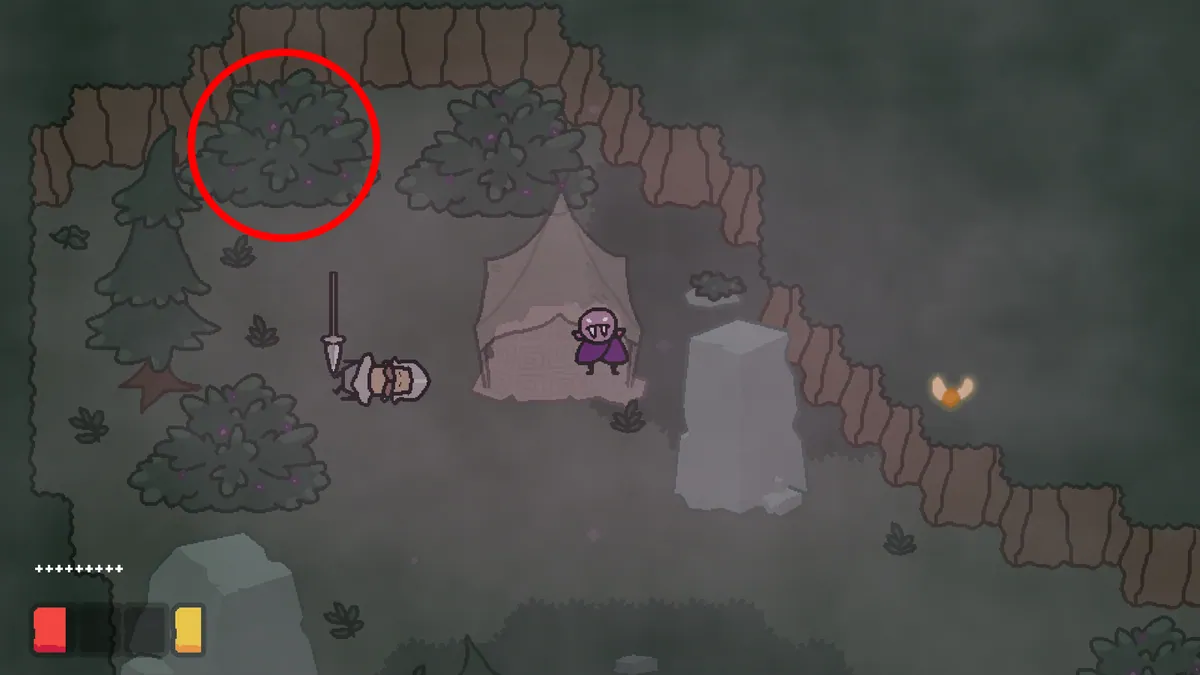
Level 5 Gnome Location
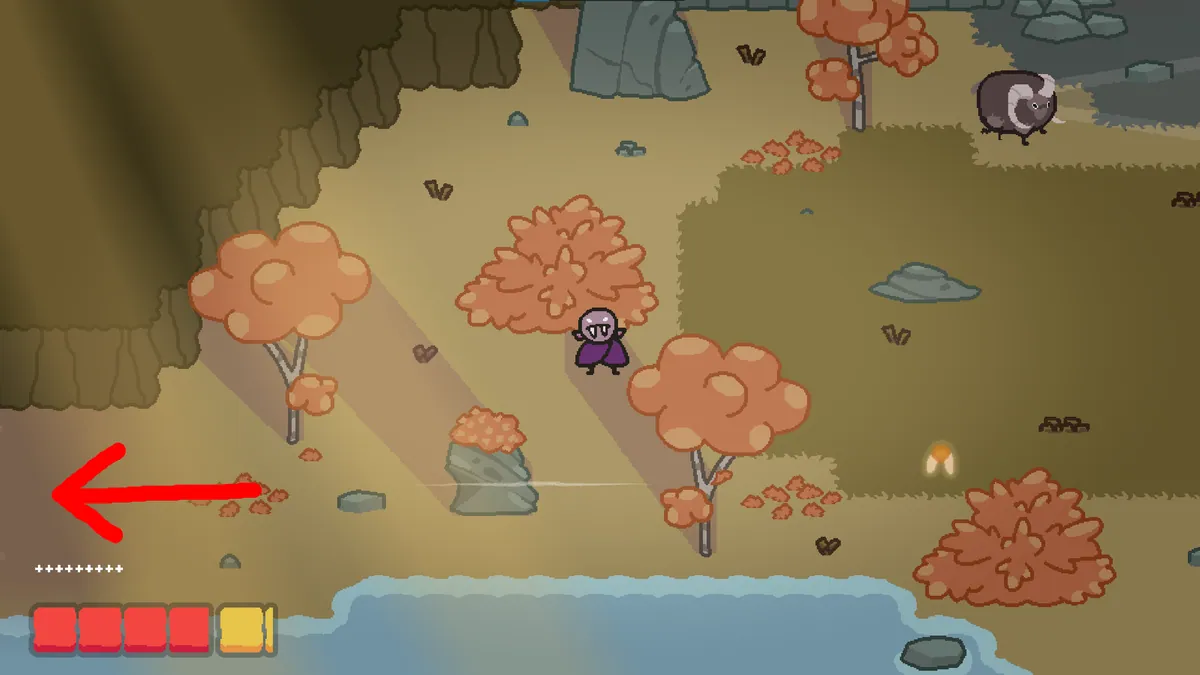
Gnome 1: The Ram Cave Border
Prior to heading inside the cavern containing the ram, steer left toward the boundary line of the screen. Step across into the adjacent zone to pick up the lone gnome positioned right on the other side.
Level 6 Gnome Locations
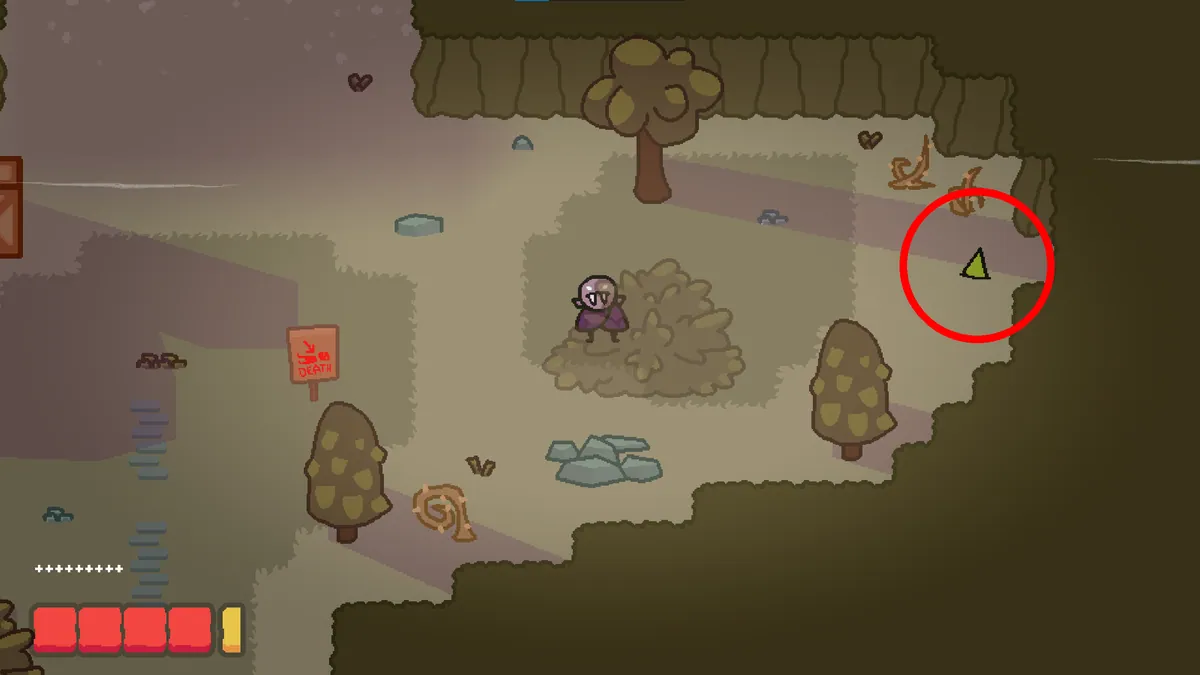
Gnome 1: Path to Glurk
Shortly before walking into the chamber where Glurk is situated, break off along the path leading to the right. The first gnome sits directly along the open trail.
Gnome 2: The Labyrinth Entrance Cutout
Right at the start of the labyrinth, journey down and make an immediate left. Check the surrounding stonework for a small indentation in the wall, which opens a hidden alcove holding the sixteenth and final gnome.