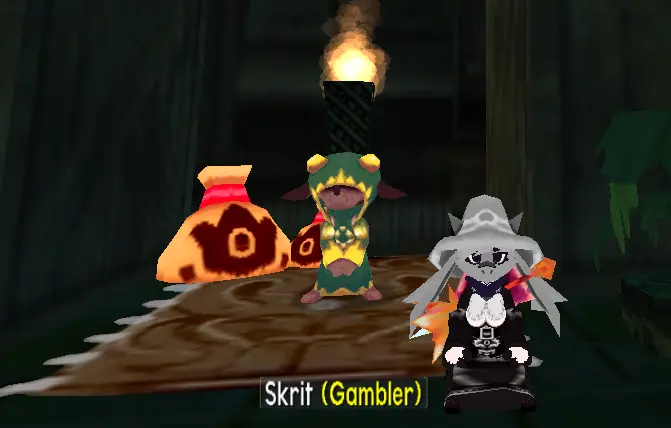
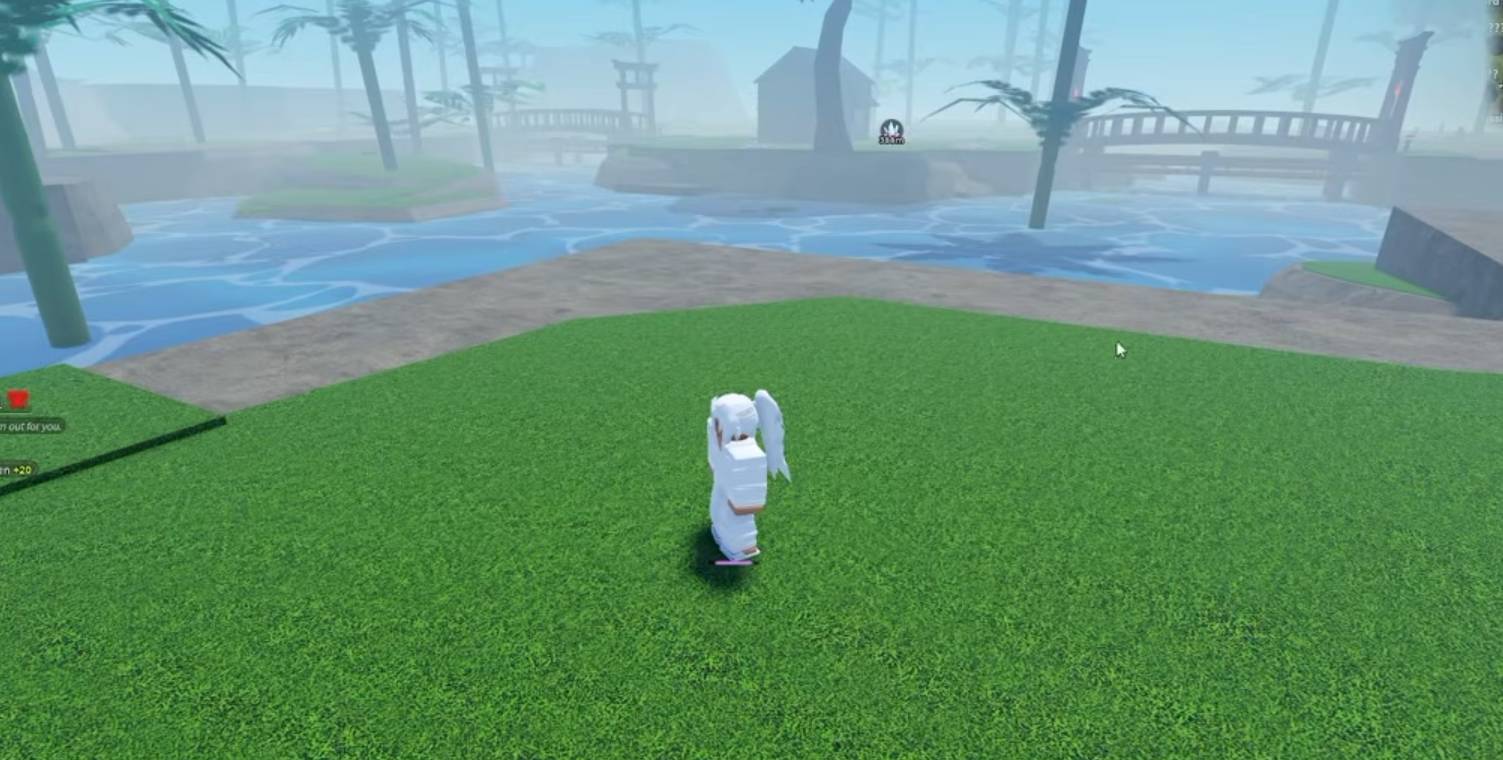
In Obenseuer, safes pepper the game’s atmospheric world from hidden apartments to back-office vaults, making them prime targets for players hunting valuable loot. Cracking these safes not only rewards exploration but also ties deeply into quest progressions, so knowing where to find them and how to open them can seriously streamline your gameplay experience.
Some safes are locked away in quest-critical locations, while others hide in less obvious spots like the Bazaar or residential quarters. Venturing off the beaten path helps uncover these treasures, so keep your eyes peeled and grab every opportunity to snoop around.
All Obenseuer Safe Codes
Below is the definitive list of safe combinations for every notable safe you’ll encounter across Obenseuer’s map. Keep these codes handy—they save you the tedious guesswork of hunting clues.
| Safe Location | Safe Code |
|---|---|
| Samuel Jonasson’s Safe | 3 – 30 – 3 – 30 |
| Deekula B9 | 7 – 27 – 3 – 29 |
| Deekula B2 | 1 – 25 – 4 – 27 |
| Deekula C Gangster Base | 12 – 24 – 28 – 15 |
| Gangster Boss’s Room Keypad | 2441 |
| One-Stop-Shop | 3 – 24 – 8 – 22 |
| Kolhola A2 | 9 – 2 – 21 – 10 |
| Kolhola A3 | 25 – 3 – 1 – 13 |
| Hostel Warehom | 31 – 7 – 24 – 21 |
| Kolhola A17 – Money Exchange | 5 – 27 – 17 – 3 |
| Jail | 12 – 25 – 8 – 28 |
| Tenement A1 | 6 – 27 – 6 – 30 |
| Tenement A5 | 8 – 18 – 5 – 25 |
| Tenement A10 | 11 – 15 – 2 – 4 |
| Bazaar Bank Office | 10 – 30 – 10 – 30 |
| Bazaar Bank Vault – Top | 10 – 25 – 15 – 25 |
| Bazaar Bank Vault – Bottom | 12 – 25 – 11 – 24 |
| Potato Mine | 7 – 2 – 11 – 22 |
Safe Locations and How to Reach Them
Samuel Jonasson’s Safe
This safe is tucked inside the tenement contract workshop where Samuel Jonasson spends his time. Move past him and check the left wall behind to spot the safe’s hidden spot.
Code: 3 - 30 - 3 - 30
Deekula B9
Early on, you can reach Deekula B. Head upstairs to apartment B9, then descend downstairs and glance underneath the staircase to find the safe concealed out of plain sight.
Code: 7 - 27 - 3 - 29
Deekula B2
This apartment becomes accessible later in the storyline. The safe rests inside a secret room here, distinct and easy enough to spot once you gain entry.
Code: 1 - 25 - 4 - 27
Heads-up: this location contains spoilers tied to the story, so avoid it if you want surprises.
Deekula C Gangster Base
Access this gangster haven through a side quest you pick up at the speakeasy bar. The apartment is the top floor, so be wary of bear traps scattered about.
Proceed deeper to a lockpick-required door, then check beneath the stairs to find the elusive safe.
Safe code: 12 - 24 - 28 - 15
Boss’s room keypad: 2441
One-Stop-Shop
Inside the One-Stop-Shop, head upstairs and peek behind the tarp curtain. Crouching is necessary here to reach the hidden safe.
Code: 3 - 24 - 8 - 22
Kolhola A2 and A3
- Kolhola A2:
9 - 2 - 21 - 10 - Kolhola A3:
25 - 3 - 1 - 13
Hostel Warehom
Code: 31 - 7 - 24 - 21
Kolhola A17 – Money Exchange
The Money Exchange safe is tricky to approach without dragging a bounty on your head. If you go for it, prepare to move quickly after opening the door.
Code: 5 - 27 - 17 - 3
Jail
The jail conceals a safe too, but looting it is a challenge demanding precise timing. Watch the guard’s routine closely before making your move.
Typically, the guard nods off around 3 AM, offering a window for stealthy access.
Code: 12 - 25 - 8 - 28
Tenement A1
Code: 6 - 27 - 6 - 30
Tenement A5
This safe is located in Louie Green’s room corner. Inside the bathroom, you’ll find a poster hinting at the in-game code combination.
Code: 8 - 18 - 5 - 25
Tenement A10
Code: 11 - 15 - 2 - 4
Bazaar Bank Office
Code: 10 - 30 - 10 - 30
Bazaar Bank Vault
The bank vault comprises two safes; ensure you use the correct combination for the safe you intend to open.
- Top safe:
10 - 25 - 15 - 25 - Bottom safe:
12 - 25 - 11 - 24
Potato Mine
Code: 7 - 2 - 11 - 22
For convenience, see the full list of Obenseuer Item IDs and console commands to snag any item instantly should you want to skip the grind.
Bazaar Safe Codes From Playtest Content
Some safes featured in Bazaar locations stem from playtest content, meaning their availability and codes can change between versions of Obenseuer.
| Location | Code |
|---|---|
| Pawn Shop – First Safe | 1 – 3 – 13 – 10 |
| Pawn Shop – Second Safe | 7 – 6 – 10 – 12 |
| Casino – Safe 1 | 1 – 2 – 3 – 4 |
| Casino – Cashier’s Office, Ground Floor | 12 – 5 – 4 – 31 |
| Gold Shop – Lower Safe | 12 – 24 – 7 – 18 |
| Gold Shop – Top Safe | 2 – 22 – 12 – 21 |
| Welho’s Safe | 6 – 25 – 6 – 23 |
| Ore Refinery | 19 – 20 – 1 – 12 |
| Spa & Sauna Back Office | 5 – 30 – 6 – 29 |
| Sewerview Inn Office | 12 – 17 – 9 – 23 |
| Rob-In Build and Repair | 1 – 9 – 8 – 8 |
| Bakery (behind second floor curtains) | 5 – 30 – 6 – 29 |
| Bookstore | 5 – 30 – 6 – 29 |
| Mentti A | 12 – 15 – 16 – 13 |
Location Details:
- Mentti A: Find the safe behind some bear traps opposite Passmore’s door.
- Rob-In Build and Repair: Be cautious here, as a stolen-item detector at the entrance might trap you if you carry illicit goods.
- Casino: Be aware of additional codes like
5 - 12 - 29 - 18and7 - 24 - 12 - 18related to casino safes.
Extra Keypad Code
The Jewelry Store uses a keypad entry with the code 0525.
Note this is a keypad door code, not a safe combination.
Also worth noting is a safe on the fourth floor of Pontikka, belonging to a mushroom seller.
How to Find Safe Codes Yourself
Finding codes on your own adds to the immersion. Look carefully around safes for clues that can be hidden in plain sight.
- Inspect any nearby papers or notes.
- Scan walls, calendars, and posters for hints.
- Follow directional hints or scribbles indicating dial movements.
- Listen closely to dial sounds; correct numbers emit a higher-pitched tone.
- Practice tuning your ear by comparing dial sounds to known combinations.
- Be alert for traps or patrolling guards that can spoil your attempt.
Remember, these codes only work on safes within Obenseuer’s world. Accessing some requires quest progression and cautious timing, as opening safes improperly can attract unwanted attention from NPCs or security systems.